Showing posts with label patchwork. Show all posts

Wednesday, 9 April 2014

Two cushions, one for people, one for cats.


Following my post from the other day I have also finished a cushion which I actually started about 2 years ago. I have been working on it on and off for ages and I finished it last week.
I really like this cushion and I think the bright colours work really well together.

Liberty hexagon side
Star side


The hexagons were bought in a pack from Liberty of London and they are made from the gorgeous Liberty tana lawn fabric which is so lovely and light. The variety of designs is great and there is a real mix of older and more modern designs in there. Originally I was going to quilt this as well for some quilting practise but then I changed my mind as I was concerned that it would make it too bulky when putting it over the cushion.
On the reverse side I have used fabrics which I would describe as Eastern inspired, they all have a hint of gold or metallic in then and I had some small scraps of each design so though it would be good to use them up. I like the star design the diamonds creates and I chose a white for the edges of the hexagons to create a contrast with the stars. I added a boarder to this side as it was a bit smaller than the hexagon side. I sewed it together with a zip and put it over a cushion I already had.
I am pleased to have finished this and the cushion is very comfy.


The next item I made this winter was a cushion for our two cats. At night they sleep in the kitchen but seem to have grown out of the cushion we bought them. They love sitting on my small quilt which was the first quilt I made, so I thought I would make then a quilted cushion so that we don’t have to keep folding up the other quilt to put in the kitchen.
 
Floor cushion
Base of floor cushion

Being tested by the new owners!


The top of this is from a book called Love Quilting and Patchwork and they say it is a small sampler quilt. I chose it because I liked how it has 5 different patchwork layouts and the size of the design was a perfect size for my cushion. Once I finished the top I then made the cushion itself by using the instructions for the floor cushion in the Great British Sewing Bee book. I bought some foam for the inside and there is a zip on the bottom so I can wash it if I need to. I made this all on my sewing machine and tried to avoid reverting to hand sewing for the awkward bits.
The cats love this cushion and although then only seem to sit on it at night time they are still using it 4 months on.
I enjoyed trying the different patchwork styles, however I don’t think the fabric I chose is the best to see the contrasts in the patchwork layouts. It would be more striking if it was made in different colours. The fabric I used was a set of 5 or 6 fat quarters I had in complimentary patterns and I had had these for a long time. The base was made from left over fabric from the first quilt as I wanted a thicker hardwearing fabric for the base.


Monday, 27 May 2013

Star and Elephant Quilt


This is a quilt I started for my sister in September, unfortunately I didn’t finish it as soon as I would have liked to but quite a few events got in the way. I have now finished with it and feel I learnt a lot working on this quilt as it is the first quilt I have made by machine.

In a previous post I discussed how I chose the fabrics for this quilt, if you wanted to read it.


I was following a pattern in a book called Love....quilting. This was ok, but it did leave out quite a few key instructions and I felt that the instructions were not very clear. Also it would have been good to have close up photos and one of the back of the quilt, you can never have too many photos in a project book.


Piecing

I worked on it step by step, so I cut out all of pieces first and then started to sew the blocks.

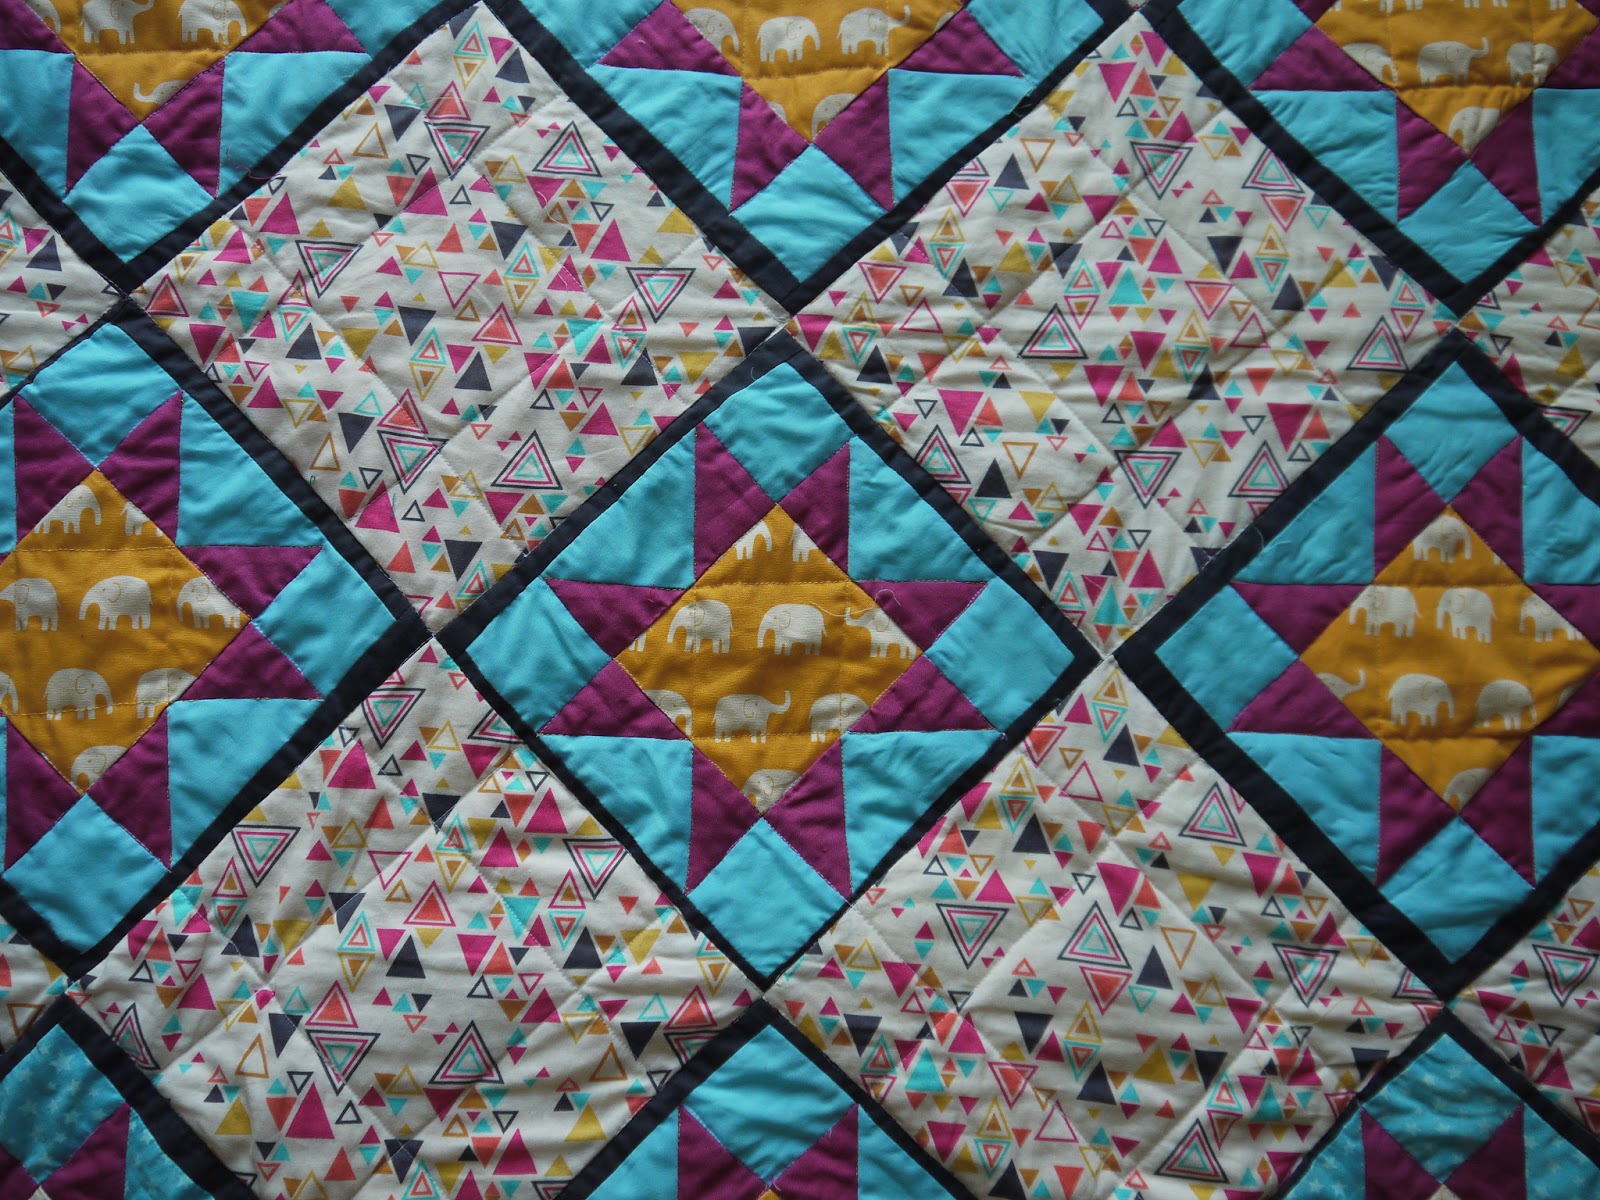
The stars are a Sawtooth star and this is started by making flying geese blocks, I had to look up how to make the parts online and found a useful and quick method. It did mean there was a bit of waste with all of the small triangles cut out, but I’m sure I will use them for something else.

Blocks ready to stitch together
Flying Geese

One almost finished block

Once I had made the star blocks I then sewed on the grey borders and started to plan the quilt layout. As I had 5 blocks with the blue star fabric on the stars and seven with the plain blue, I decided to have a blue star block in each corner and one on the front of the quillow.

Quilt top

Next I cut the large squares in the Washi fabric to go between the star blocks. I don’t think I had cut this as accurately as I should have as later on I had some difficulty getting all the blocks to match up in size, later this affected the quilting. As I needed to cut diamond shapes, this meant I had to cut the fabric on the bias which meant it was stretchier to sew.

Once I finished all the blocks I used a bright pink fabric as the border. In the book they used 2 borders even though they did not tell you what size to cut them to. I only used one border as I was running out of time and felt the quilt was a good size.

I used some wadding off the roll which was bought from a local shop. For the backing I used an Egyptian cotton sheet, which was left over from the backing on my hexagon quilt.

Planning the layout of the blocks - not quite enough floor space!


Quilting

I had a lot of problems with the quilting. I couldn’t seem to get it started right and I was left with lots of creases and bumps. I must have taken the quilt apart about 3 times and re basted it each time, but still the back looked terrible. Also I was laying it out on my dining room floor and there wasn’t enough space to get it completely flat. I looked online and someone mentioned that I should be using a walking foot.

Once I started to use the walking foot it seemed better but I still had the odd crease and fold. As I had started the quilting about 4 times by now, I did just want to get it finished and not mess around anymore.

It took some of practise to ensure I was stitching in the ditch on the top side and that the lines were straight and attractive as possible on the back. This problem goes back to not cutting the fabric out accurately at the start.


Quillow

For the quillow pocket part I made up one block and did a pink border for it, I then put some wadding behind it with some white fabric and quilted the pattern.

Binding

I used a yellow fabric for the binding as I felt there was enough blue and pink already and knew my sister would like it nice and bright (if it was for me I probably wouldn’t have chose yellow next to the pink.) While sewing the binding I also attached the pocket which went well. I then stitched up the sides of the pocket and binding by hand.


Finished quilt

Close up of the front
The quilt back with pocket in the middle at the bottom edge
I was quite nervous to first fold it away in case something had gone wrong, but luckily the quilt fitted in fine and was easy to get out again. Once again I looked up online how to fold a quillow.


All folded away


It was then posted off to Wales to my sister and she was delighted with it. Surprisingly she knew straightaway how to fold it so I didn’t need to show her!


Reading back over this, it sounds like I didn’t enjoy it or that there were constant problems. I enjoyed this overall but learnt some very difficult lessons. Halfway through working on this I was given a quilt ruler for my birthday and this has made all the difference to the cutting of things I have made since.

I am pleased with this quilt as it is the first one I have done all on the machine and I learnt a lot of new techniques and skills which will make my future projects better.

You can see quite a few of the quilting lines on the front, more than I am happy with, however I guess you are not going to be perfect straightaway.

I do like the quillow idea and will be using it again.


Saturday, 22 September 2012

September, time for another quilt methinks!


I have been sewing the back of my liberty cushion which is going well; I found some lovely small pieces of Japanese fabric and have stitched them into stars. As I can hand piece these, they have been occupying my lunch breaks.
The cross stitch is coming along well but not finished yet.

I have been thinking of making another quilt for a while and found the perfect excuse, my little sister had requested one a few months ago and now she has just started university. So I thought I will make her a quilt as a sort of moving away/flatwarming gift! Having thought about it a bit more I have decided to make a quillow from a pattern in a book called 'Love.... quilting' As she is at university in a small room she can have it as a cushion to look nice and brighten up the room and then unfold it into a quilt when she gets cold. Having lived in student halls I know that anything space saving and small is a good idea.

Now the big problem......what fabric do I make it from?! Having looked in my stash I don't really have anything as most of it is small pieces. I wanted something bright and cheery as she likes her bright colours. Not too traditional, floral or pretty as I wanted it to match any room she lived in. While looking online I fell in love with the Trade Winds range from Moda designed by Lily Ashby.
Trade Winds by Lily Ashby, Moda.


This was bright and colourful and looked exotic and luxurious. My favourites were on the third and fourth rows down, I like the jewel like design and Indian inspiration. However when I looked into it a bit more I decided that the patterns may be a bit too large for this design and I would be better off with something with a more repetitive pattern. I started to think that a geometric pattern may be better and instantly give the modern look I was trying to go for.
Then I found Washi by Rashida Coleman-Hale for Timeless Treasures and this intrigued me. I like the triangles and the colours; I started to think if I had that as the background and then solid colours for the quilt blocks that would look fresh and simple. After quite a lot of thinking and browsing the fabrics are as follows:

Fabrics for quillow

Washi natural from M is for Make,
Bright pink, turquoise, grey cotton
Turquoise stars, I was considering this to be the centre of the stars but it wasn’t quite right
Yellow elephants on linen.

The elephant fabric had been considered once and discarded. I got it out again, realised the square shape in the centre of the star block was on its point for this quilt design and then realised that the elephant print looked so much more interesting when it was laid out like this! It was the perfect centre for the star and gave a focal point without overpowering the rest of the design.
Then again.....when I actually sew them they may not work together at all!

I made up a block by hand just to see how it would look, before I cut out the whole quilt. Some stars will have plain blue fabric others blue star fabric.

Practise star.

As you can tell this was all done in the evening as the photos are really poor. In future I should wait until daytime to photograph and hopefully photos will look better.

To see the finished item and post details here